CHAINSAW MAN FAN ANIMATION

Directed & Animated by:
Aaron Leavitt
What started as me wanting to remake one of the Chainsaw Man manga cover in 3D quickly turned into this project.
I've been building a pipeline over the years now and this is the first project where I've fleshed out the whole process
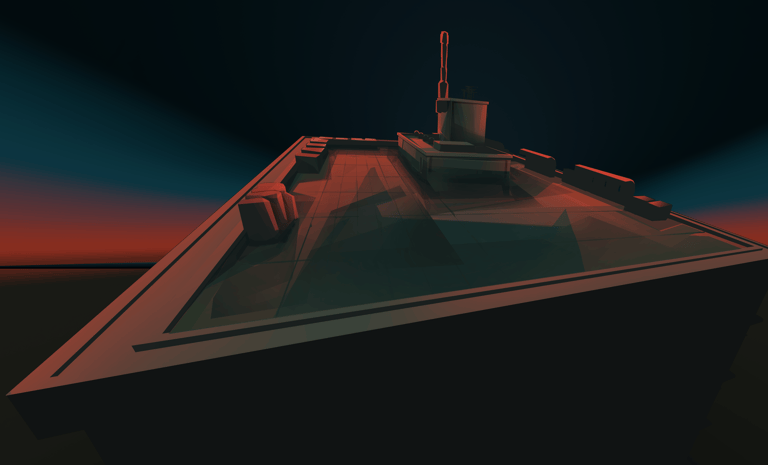
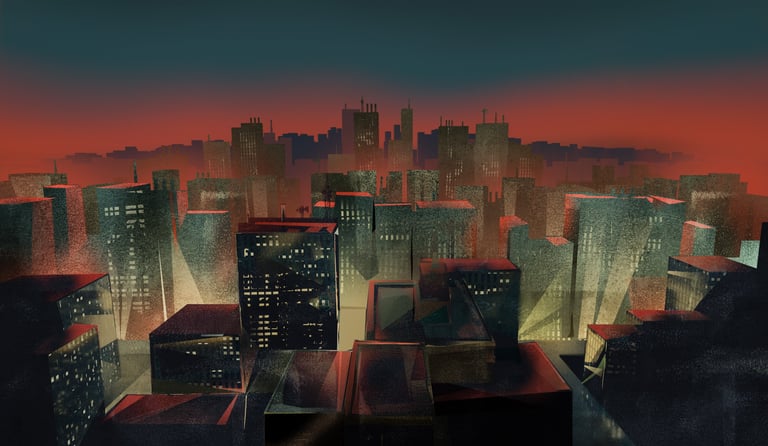
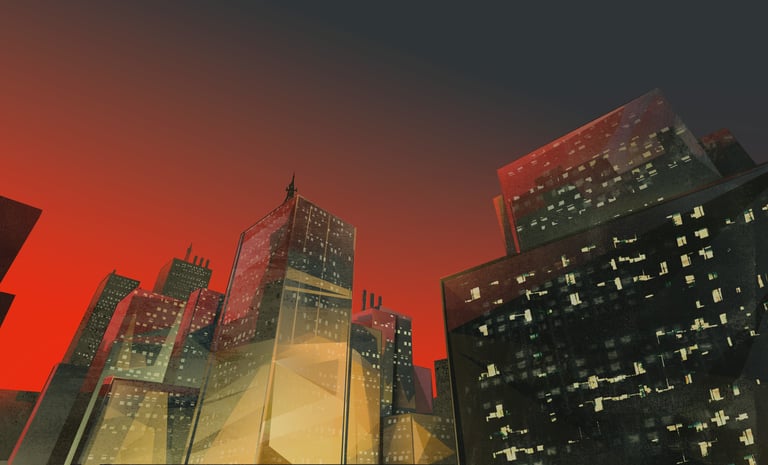
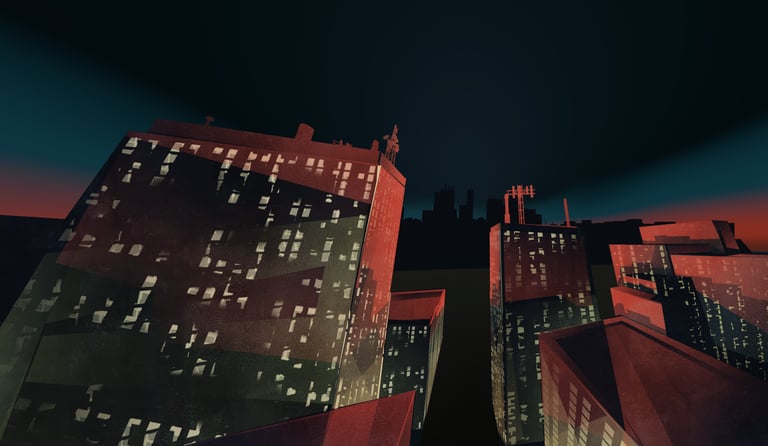
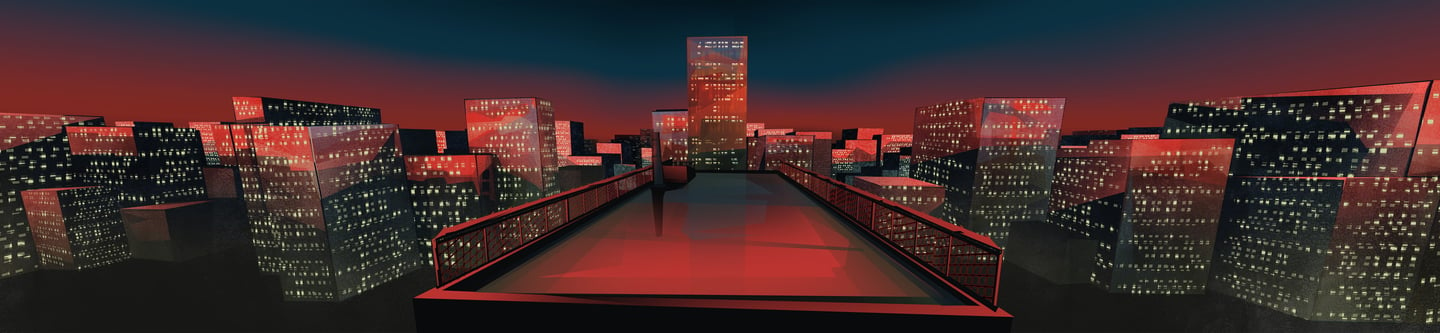

Matte Paintings
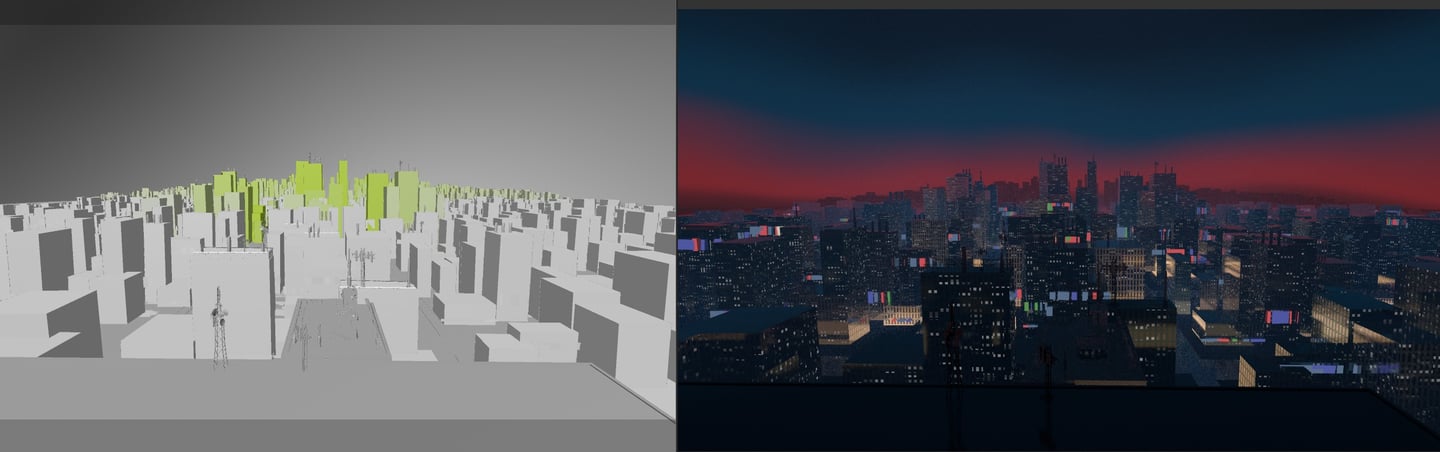
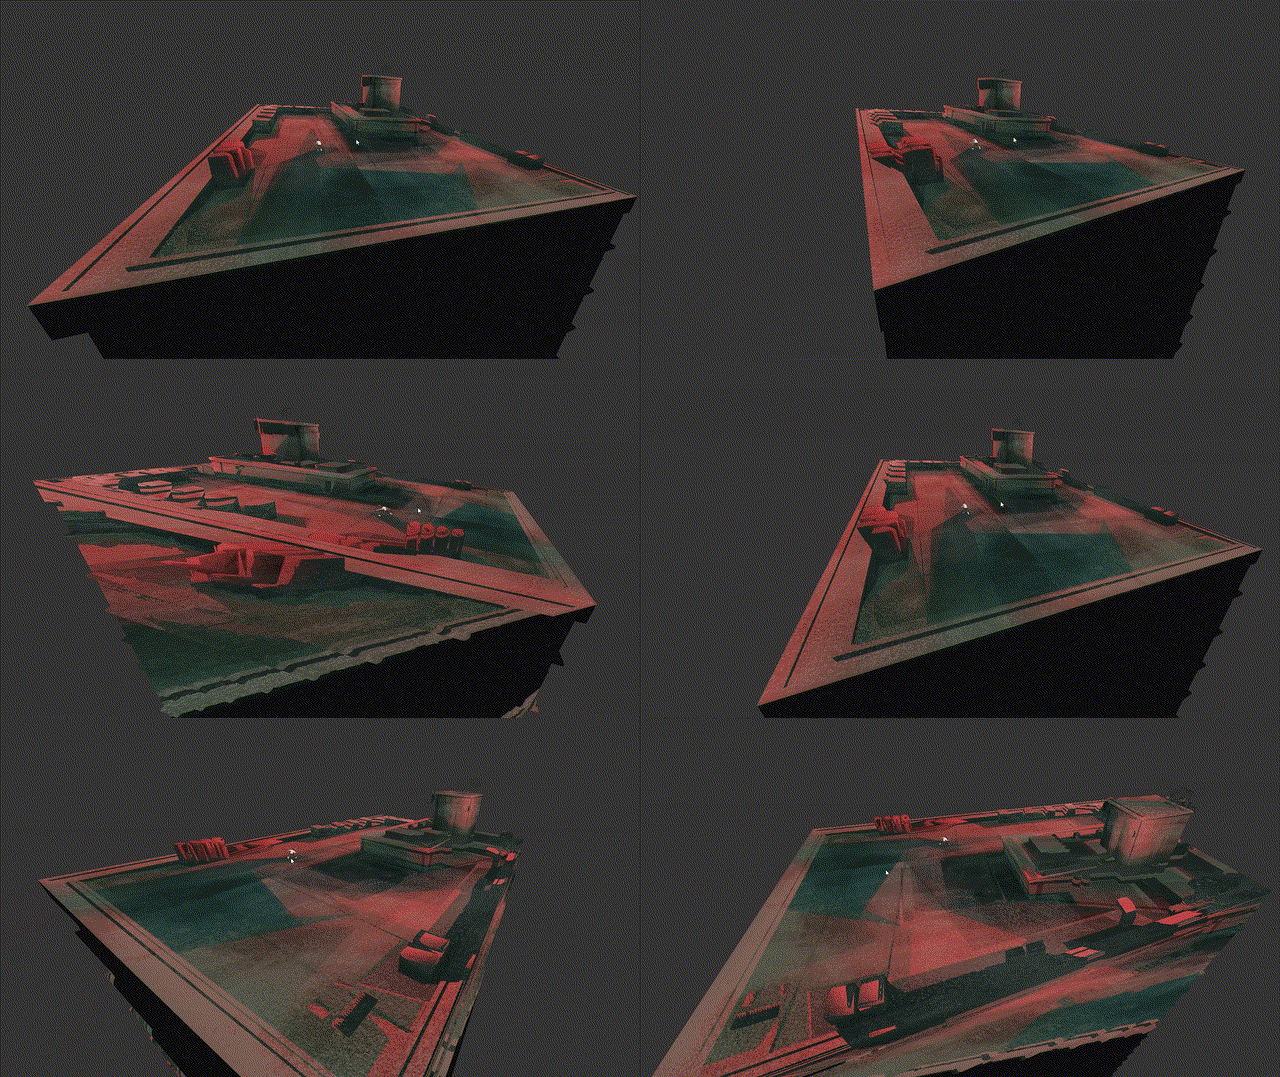
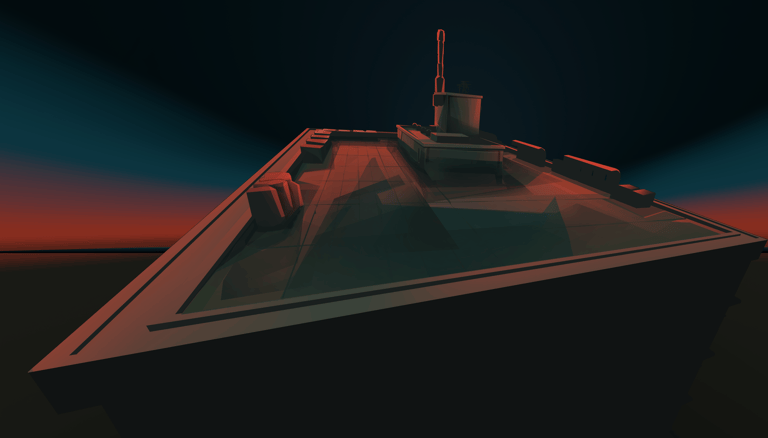
The environment was first modeled in 3D with quick materials and lighting for reference
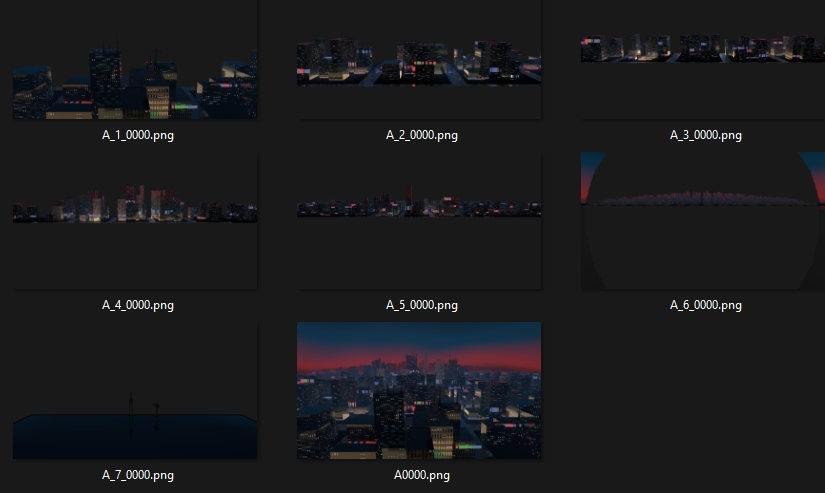
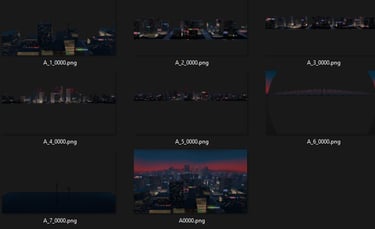
Each 3D Render was rendered in layers for easy masking in Photoshop, those are also the layers that will be used inside of After Effects once they have has been painted
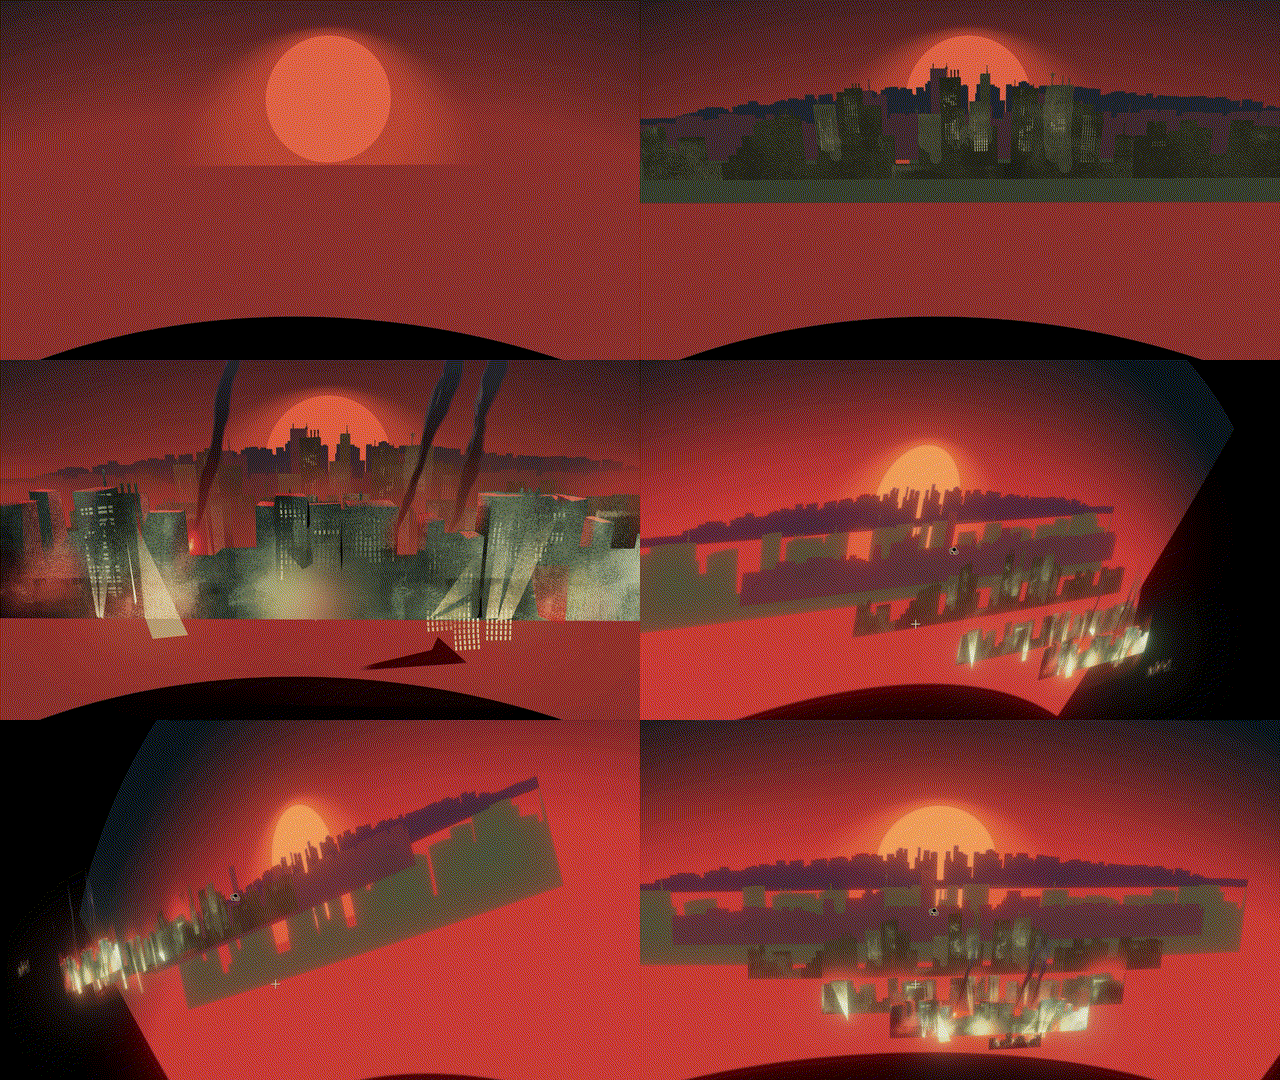
Projection mapping was used but only when
the foreground needed high fidelity parallax
The rest of the enviroment will be reassembled in After Effects per shot
3D Character
Lighting/Composting
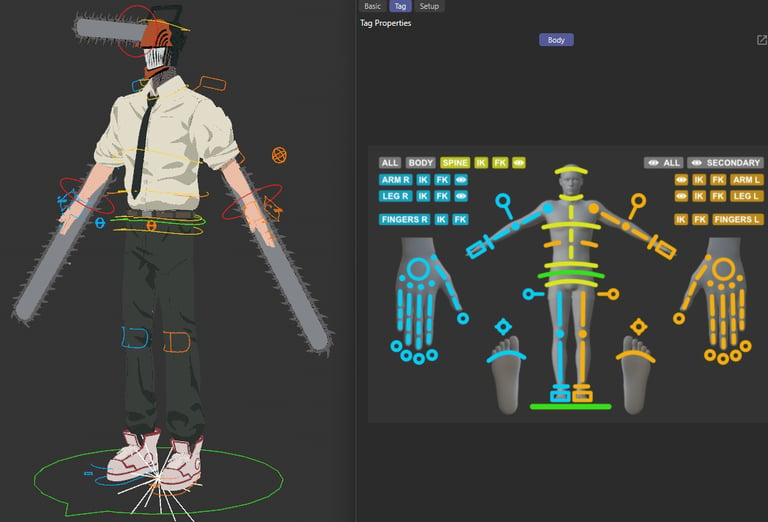
Rigging
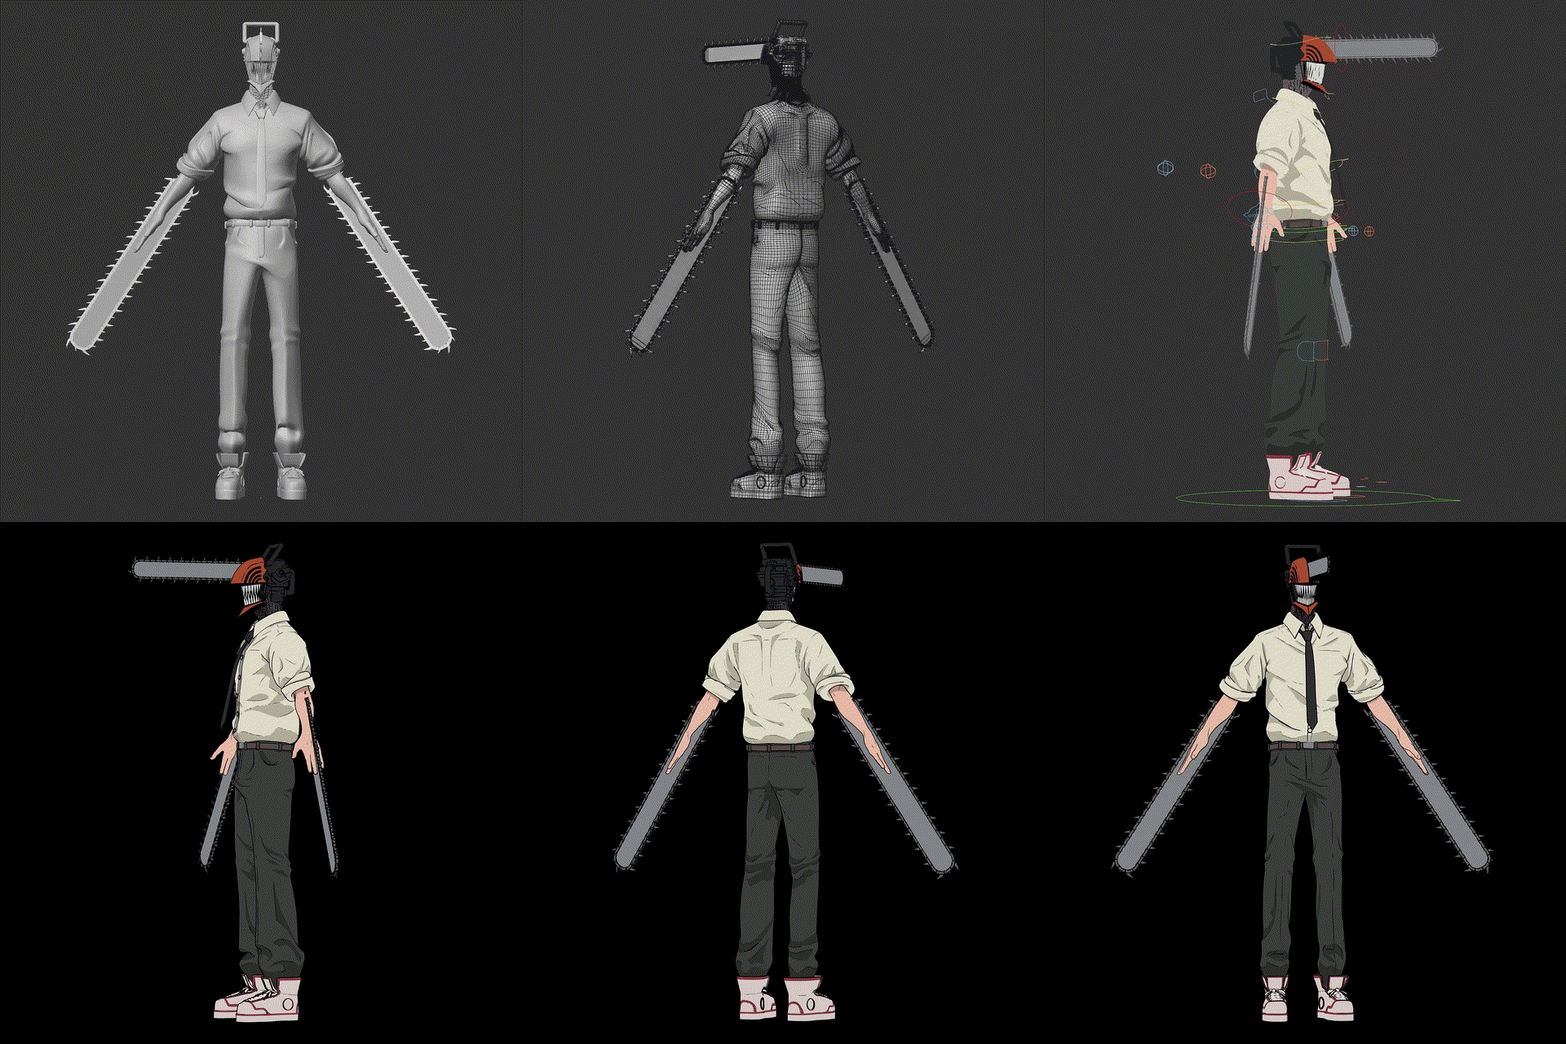
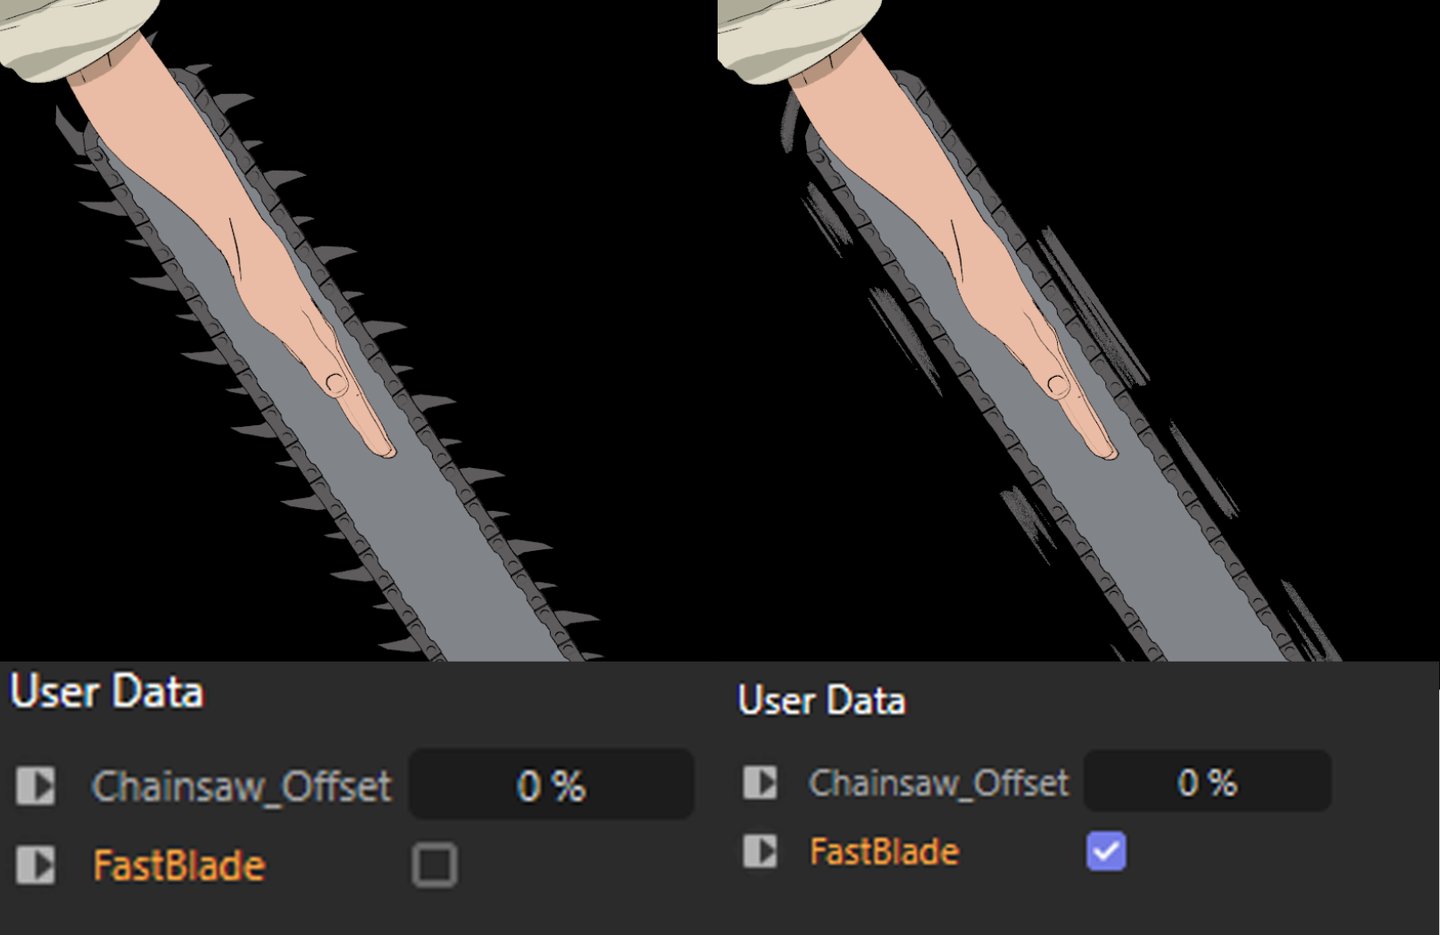
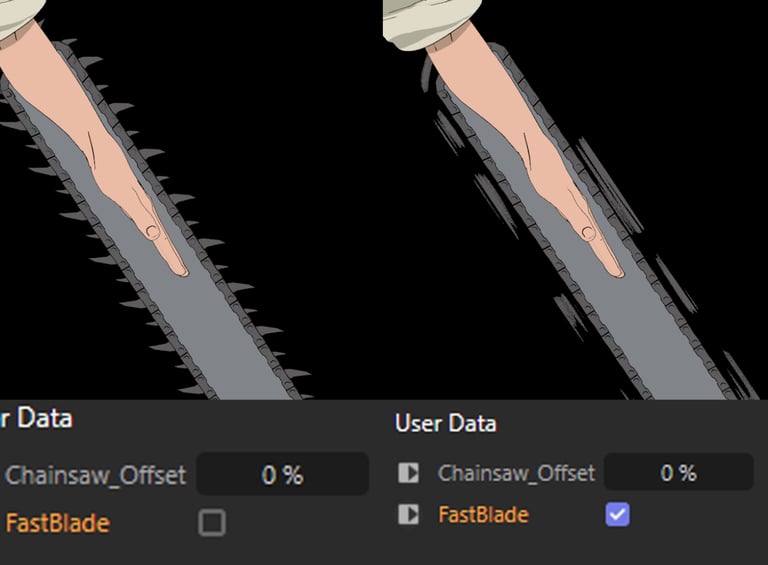
Built custom element onto the CC5 rig, like this toggle that changes the chainsaw blades to become a stylized smear
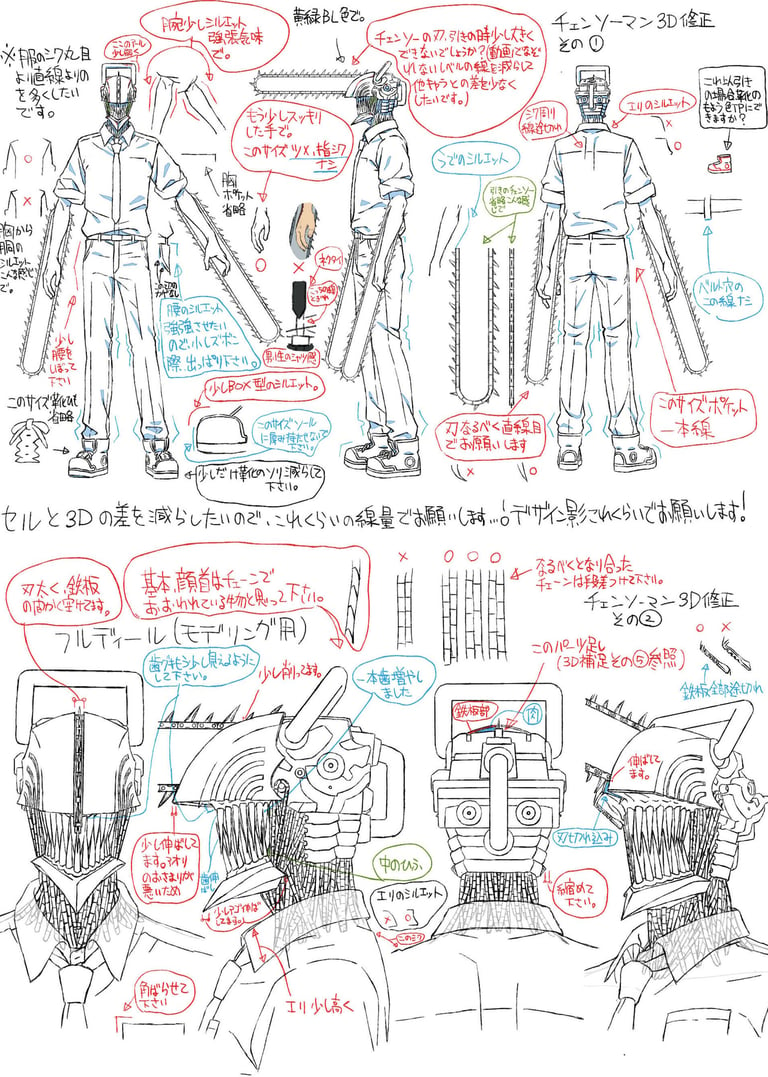
Design Sheet by Kazutaka Sugiyama
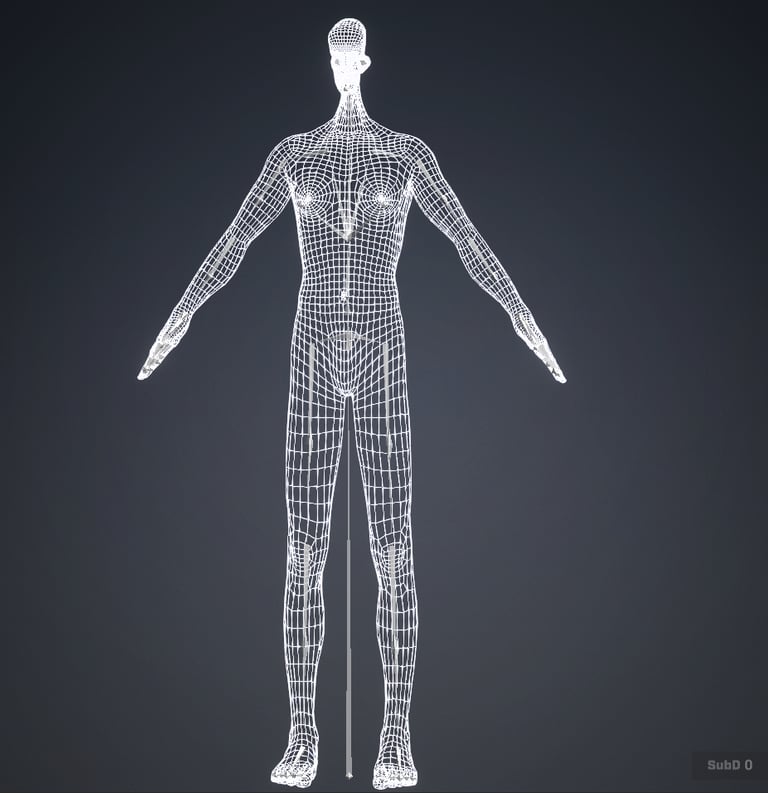
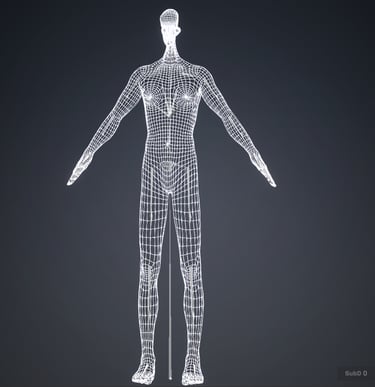
Base Mesh
I used the software Character Creator 5 to get a base mesh and bone structure similar to the reference from the official Design sheet
its important when working within a character creator pipeline to not change poly count, I shrink the head to get it out the way- down the line I can hide any unwanted parts from the renderer
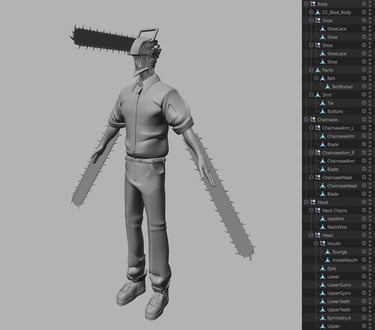
3D model
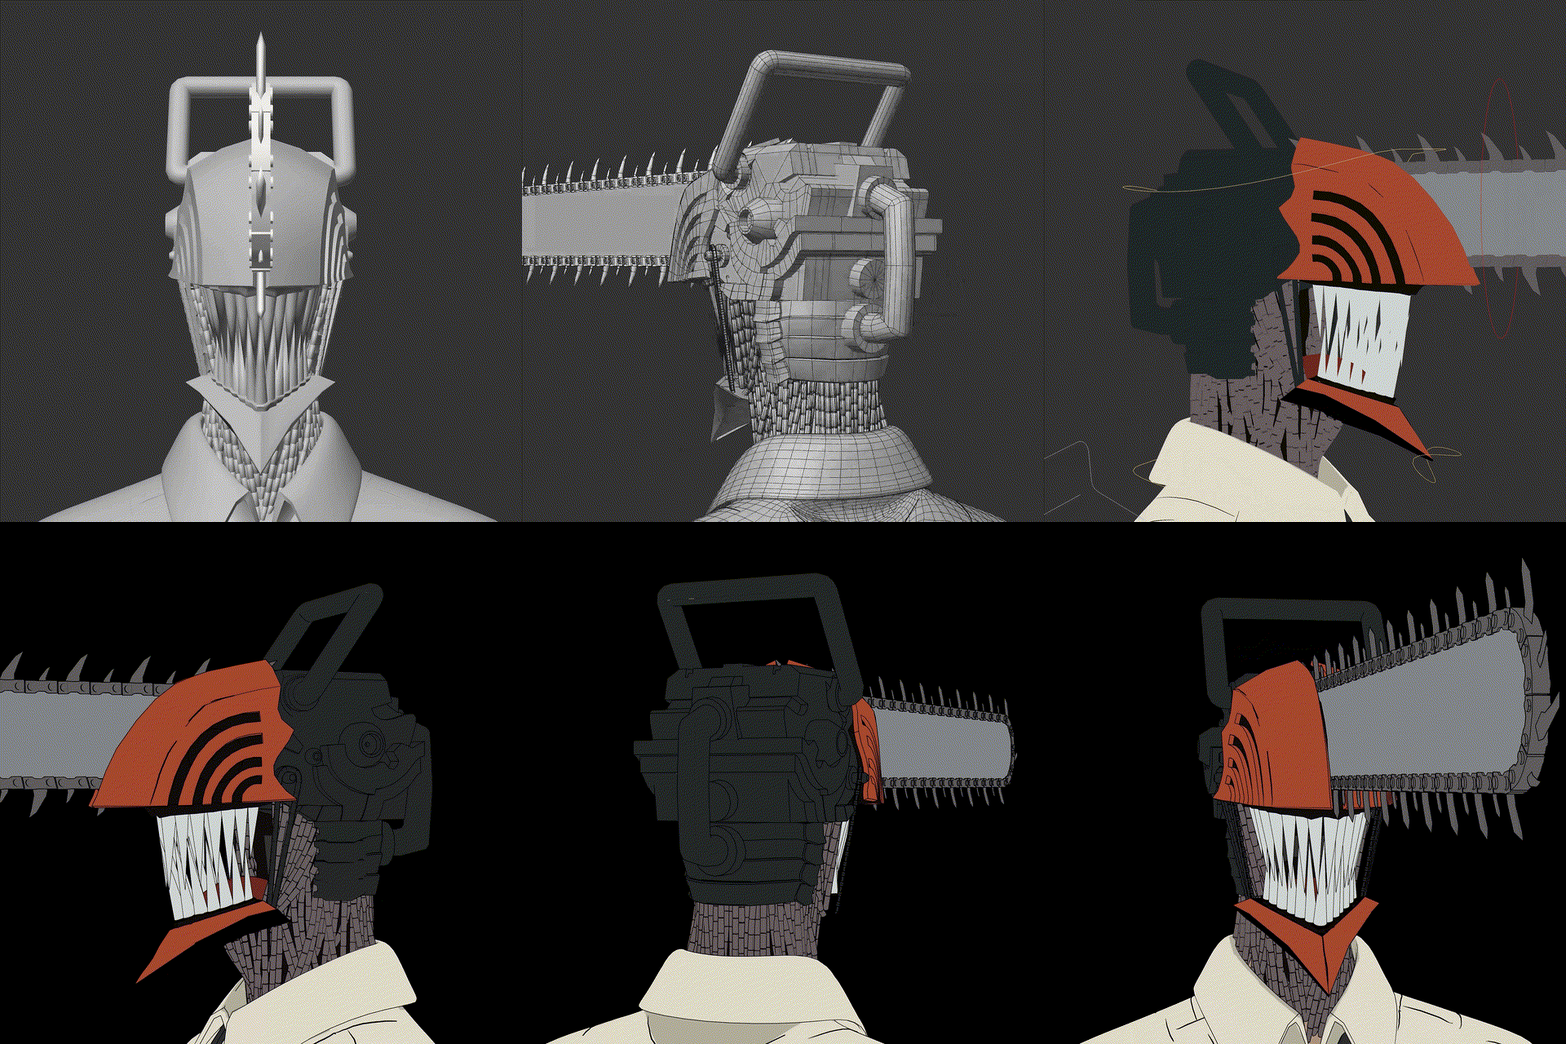
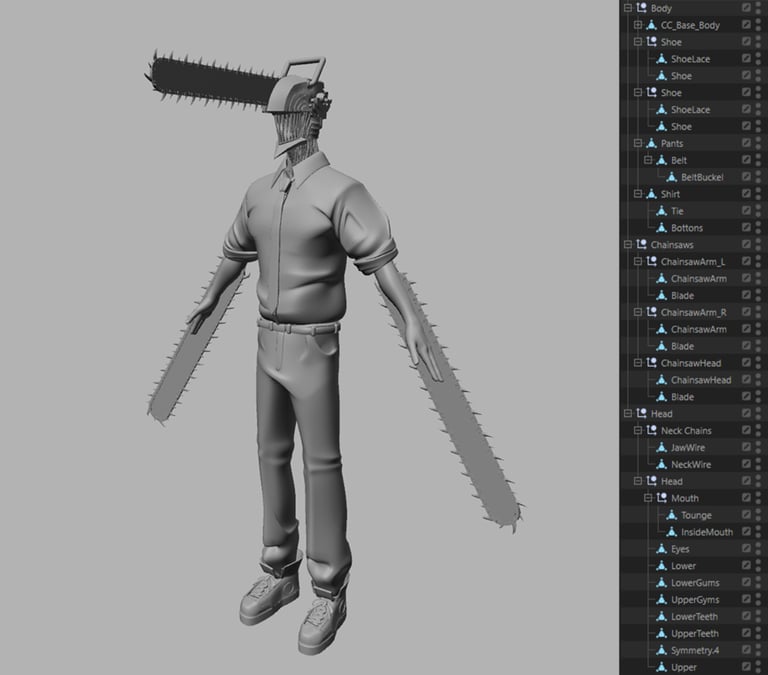
Thanks to the detailed design sheet i skip the sculpting phase and was able to directly model out each piece to save time. For this style we dont need a high poly mesh for details, the detailing comes in texturing and line work
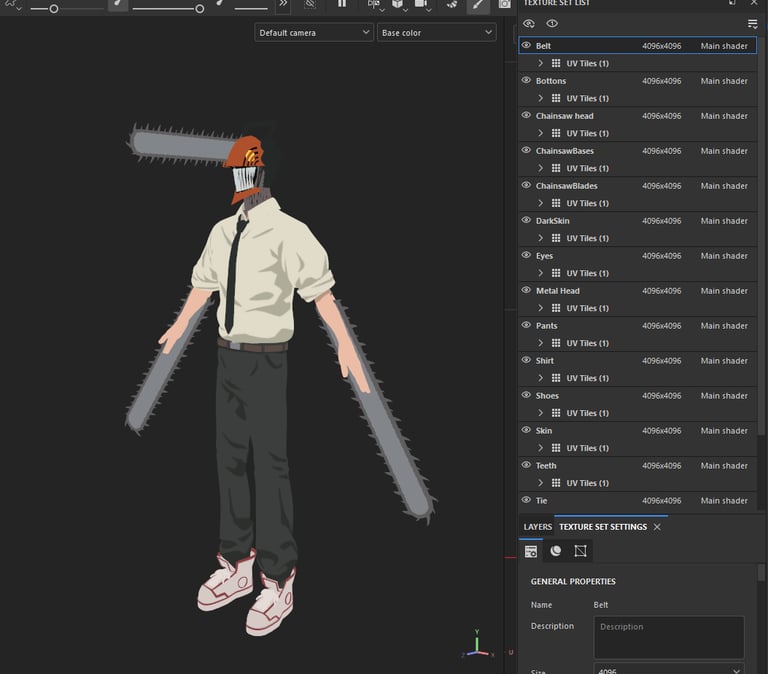
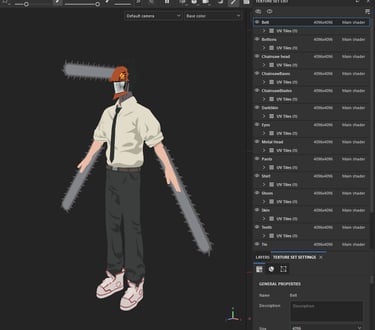
Texturing
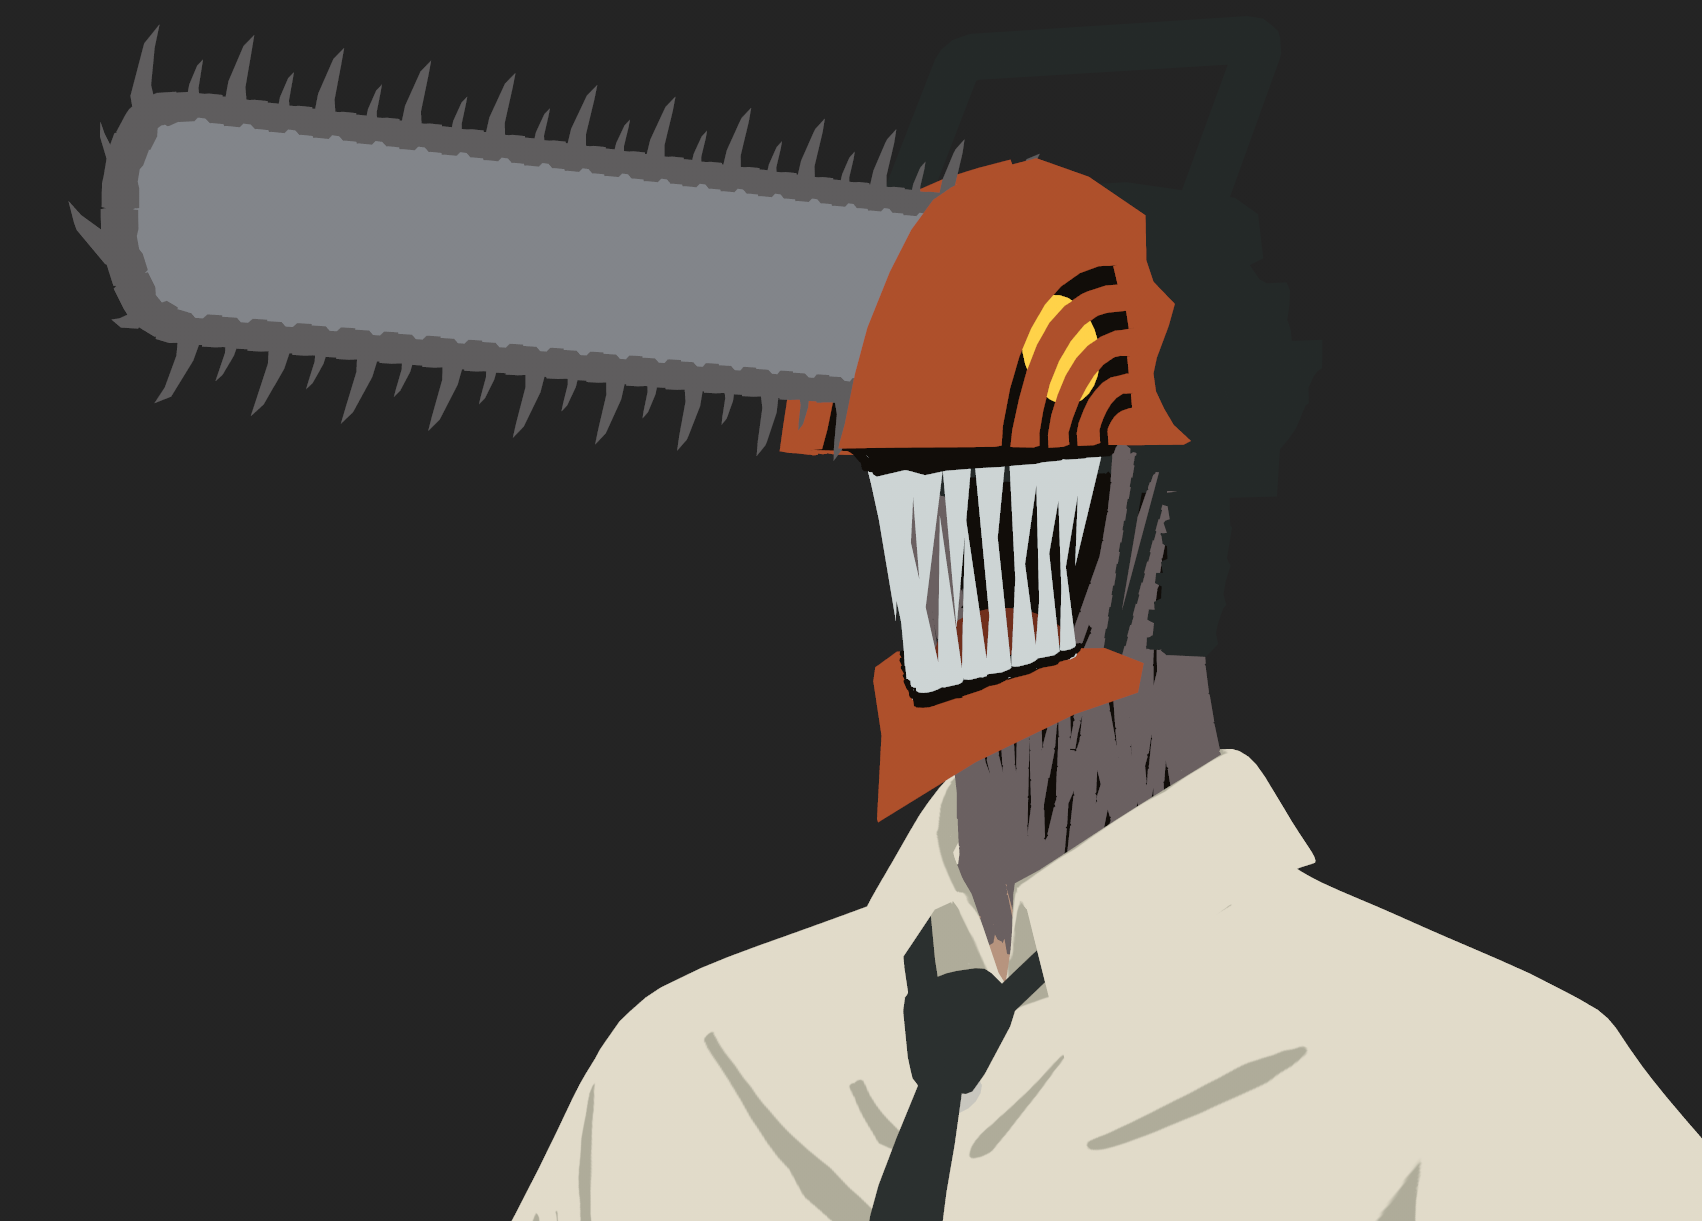
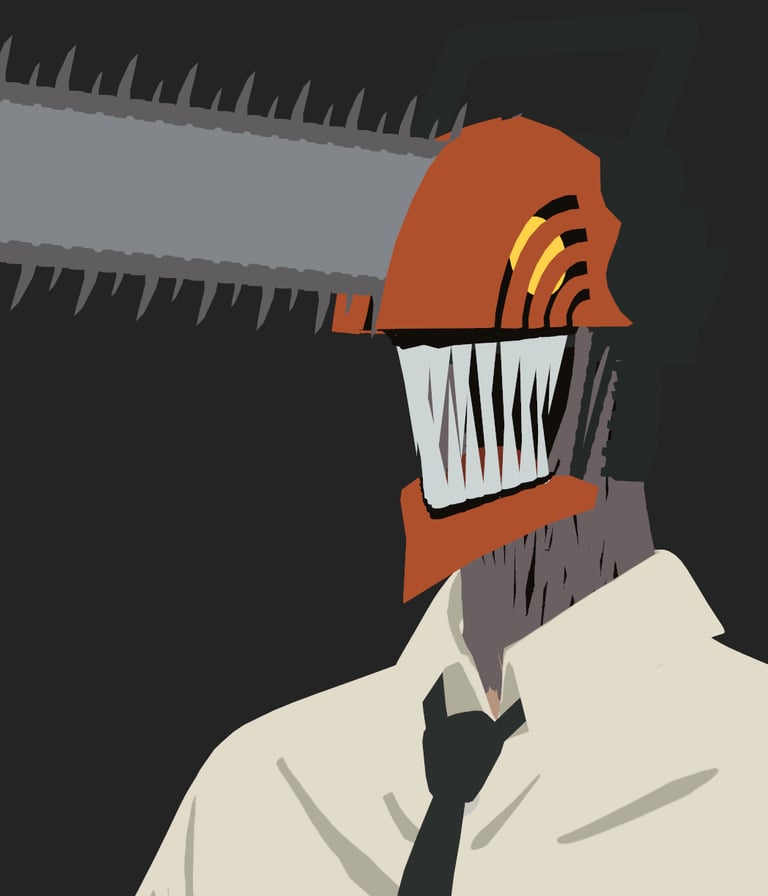
Mostly solid colors, only painting in contact shadows and some wrinkles
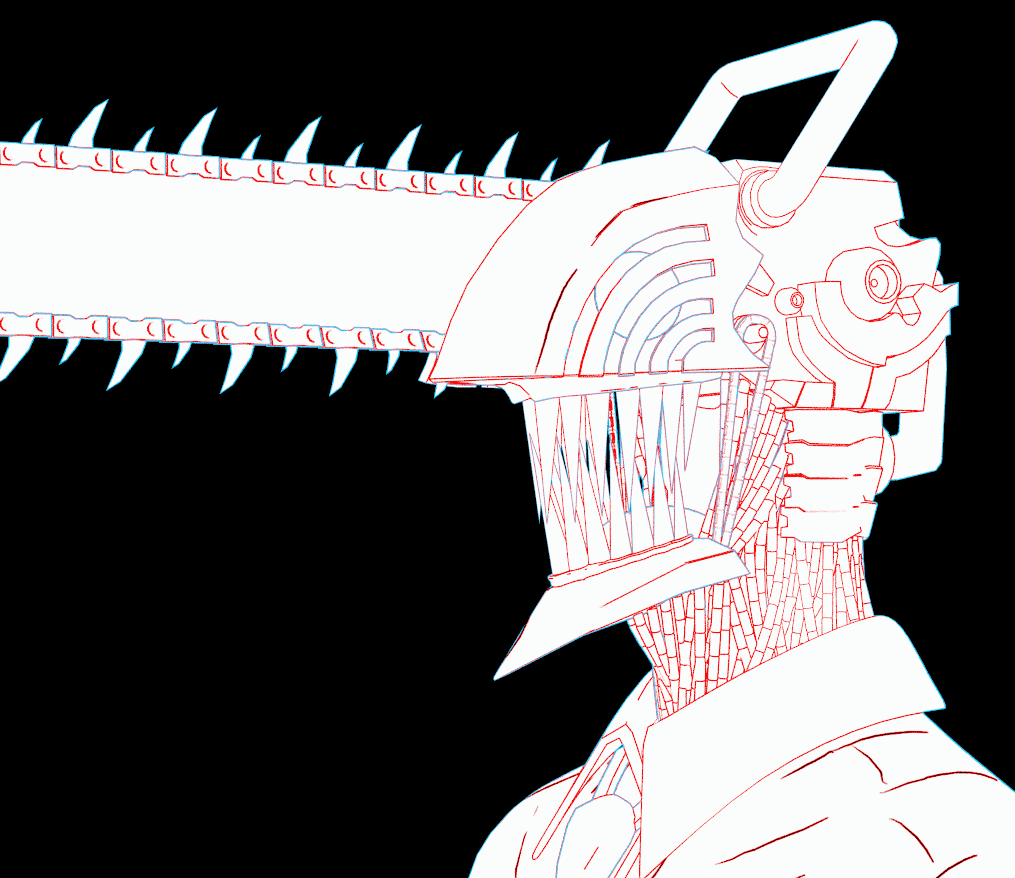
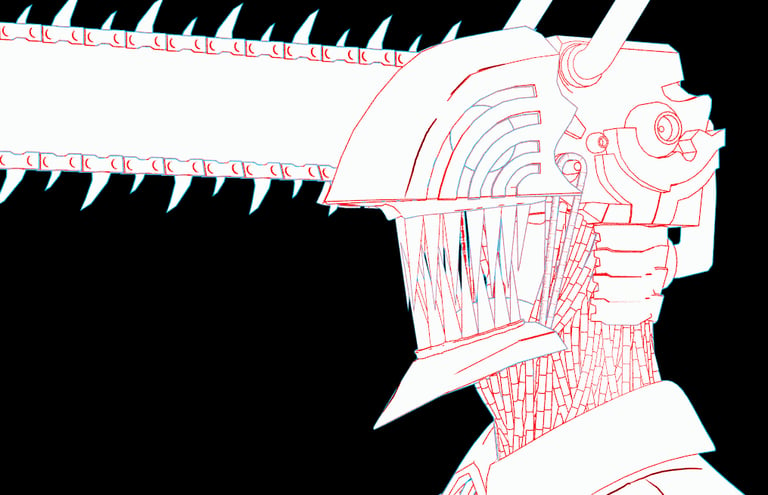
Lines
Use a combination of hand drawn mesh lines and shader generated lines
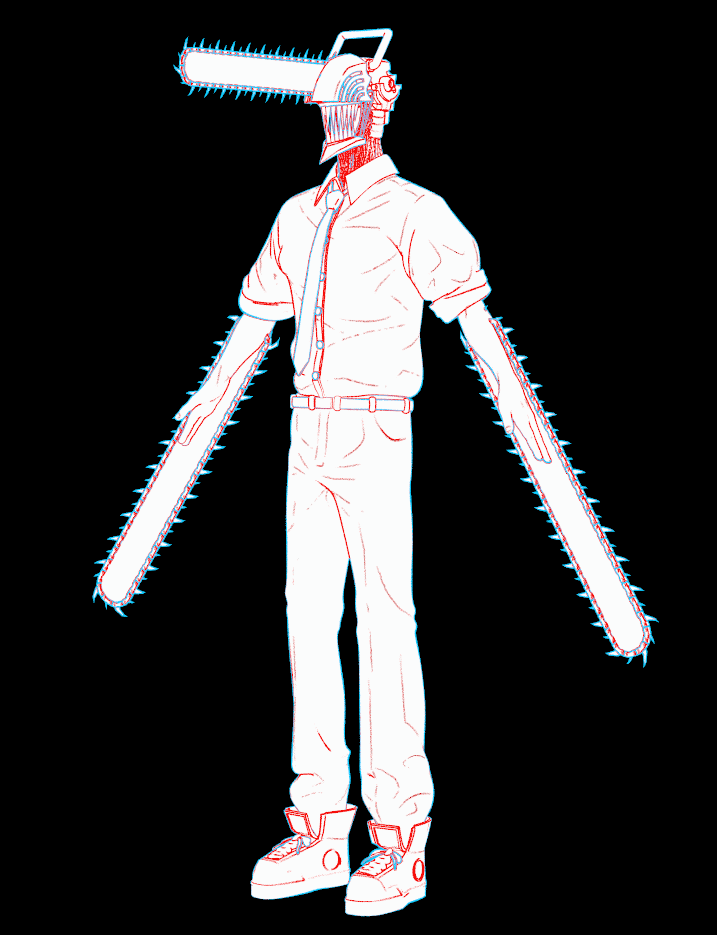
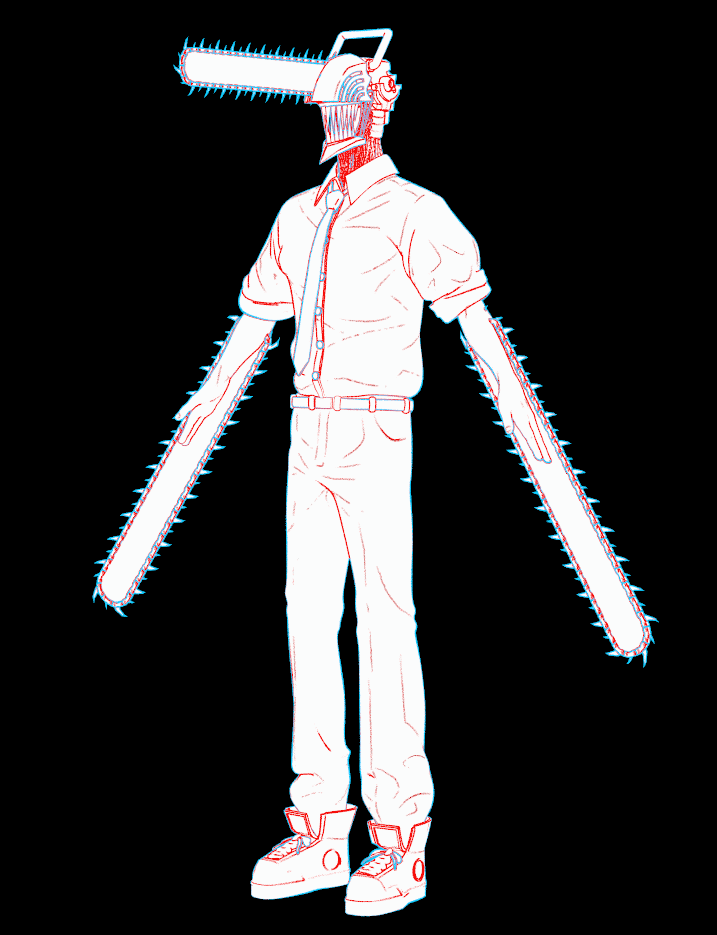
Red lines are internal and Blue are external for showcase purpose
Using redshift Toon shader and contour it generates lines based on the viewing angle of the model
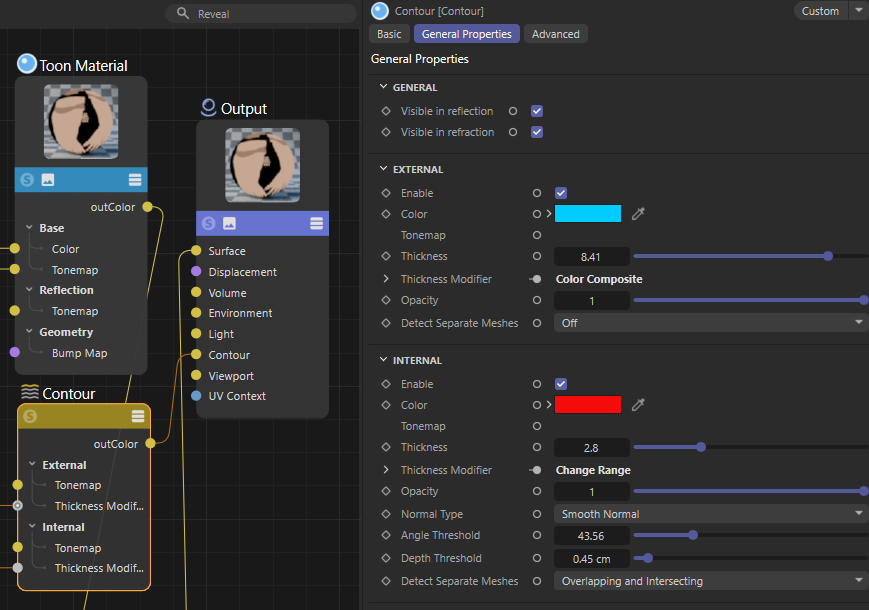
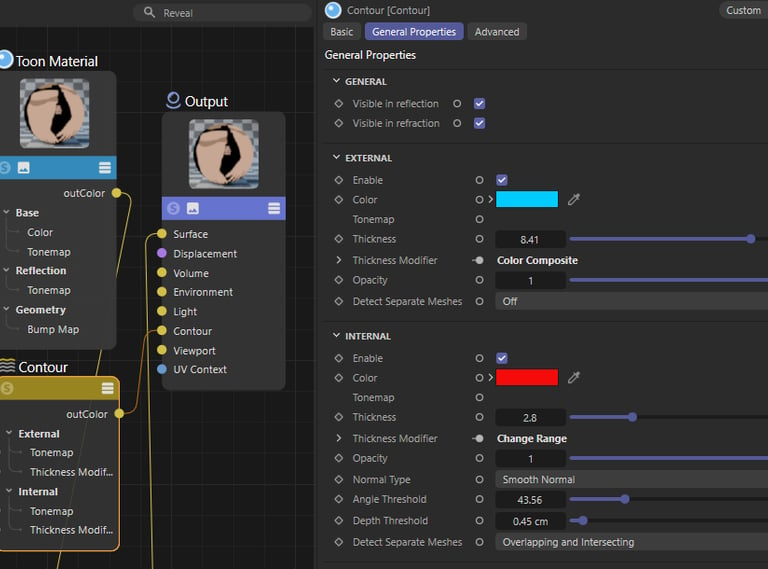
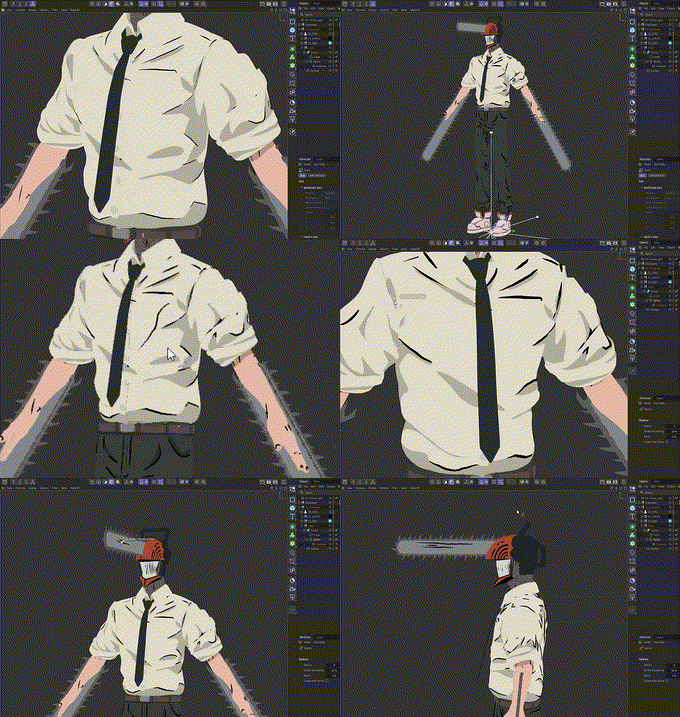
These hand placed lines are very powerful and i honestly hardly used any of the build-in functionality in this project
They're just splines that are projected onto the mesh so you could very easily add a displacement modifier to add line jitter
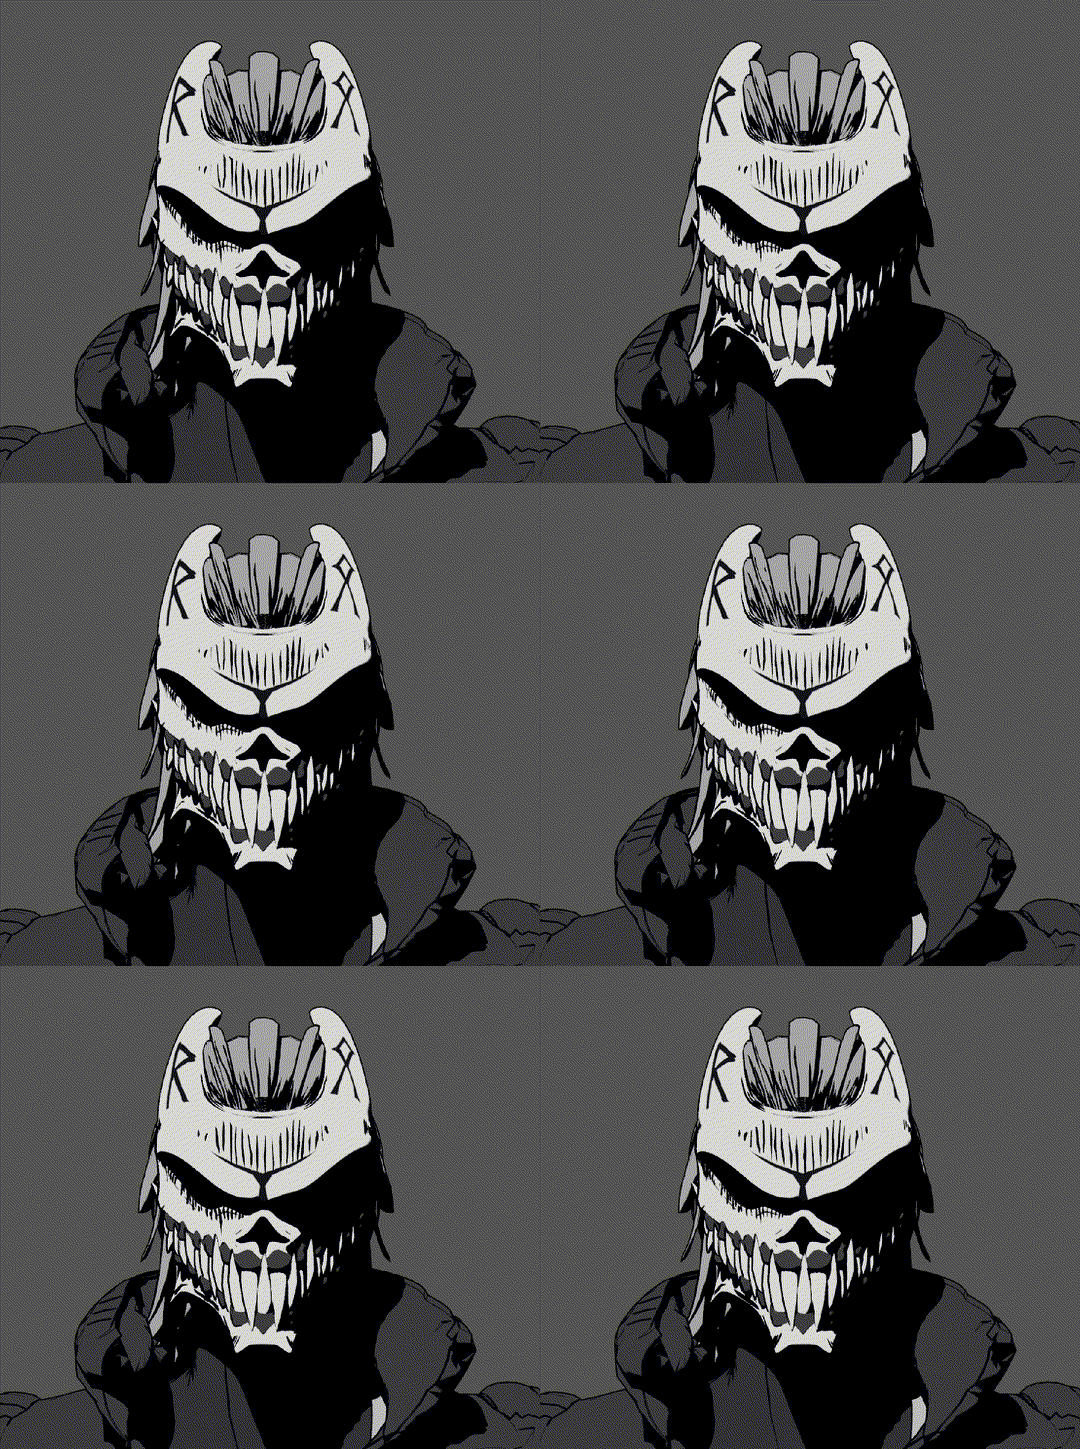
Example
Character is assembled in Character Creator 5 before exporting to C4D, Here i test the weight painting, and make sure the base rig is working. Great thing about CC5 is it has rig export options & plug-ins all DCC's
Programs used: Cinema 4D, Character Creator 5, Photoshop, Substance Painter, After Effects
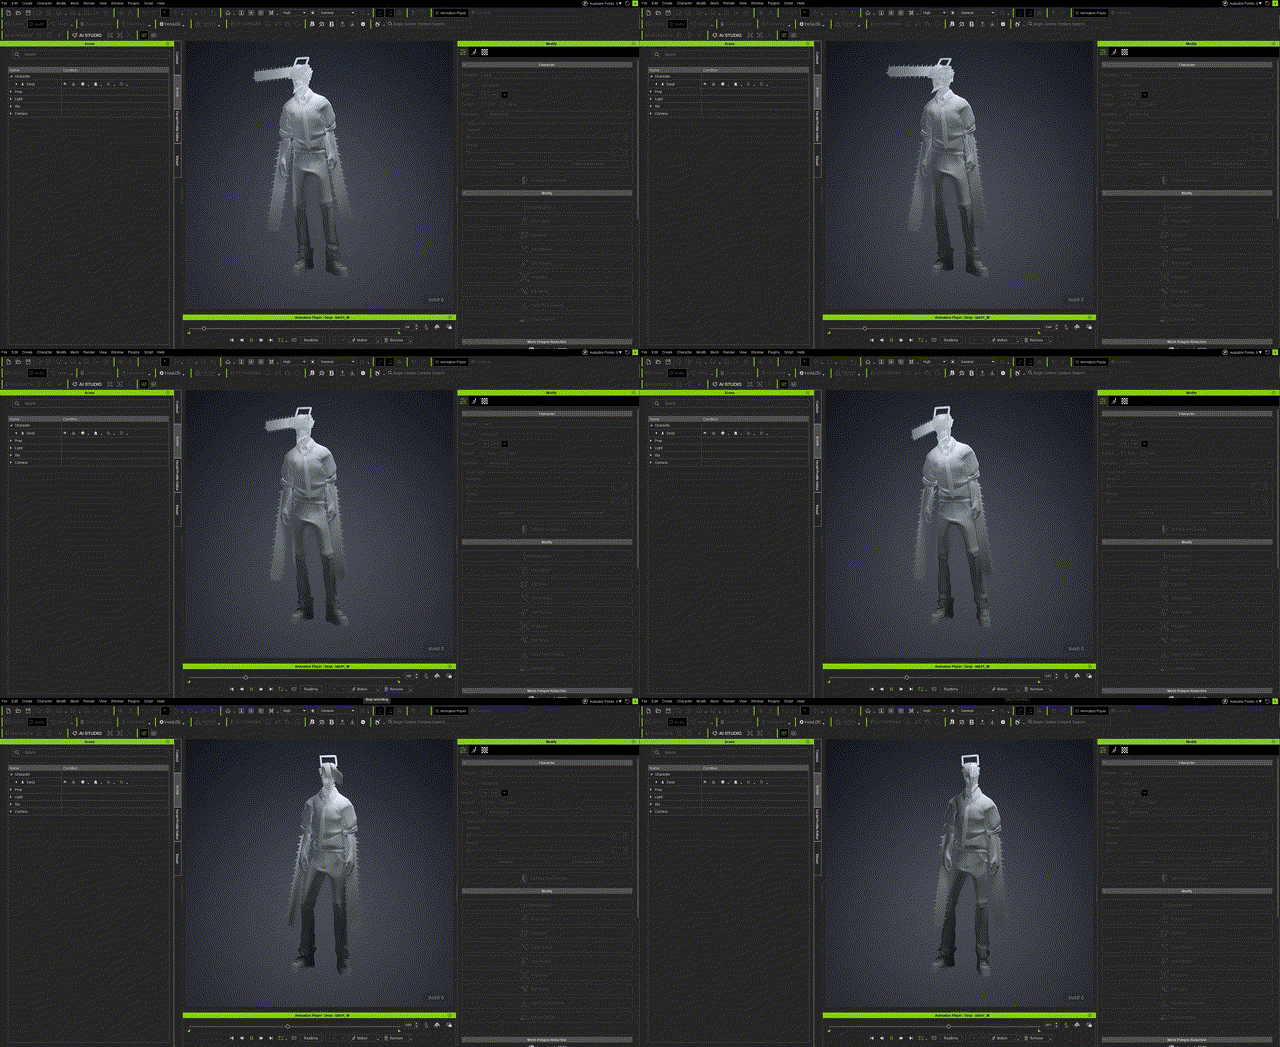
This is where the aesthetics of the project really starts coming to life, it can be a bit time consuming but still a very enjoyable process
Layer assembly in After Effects
CC5 Rig and Control Selector
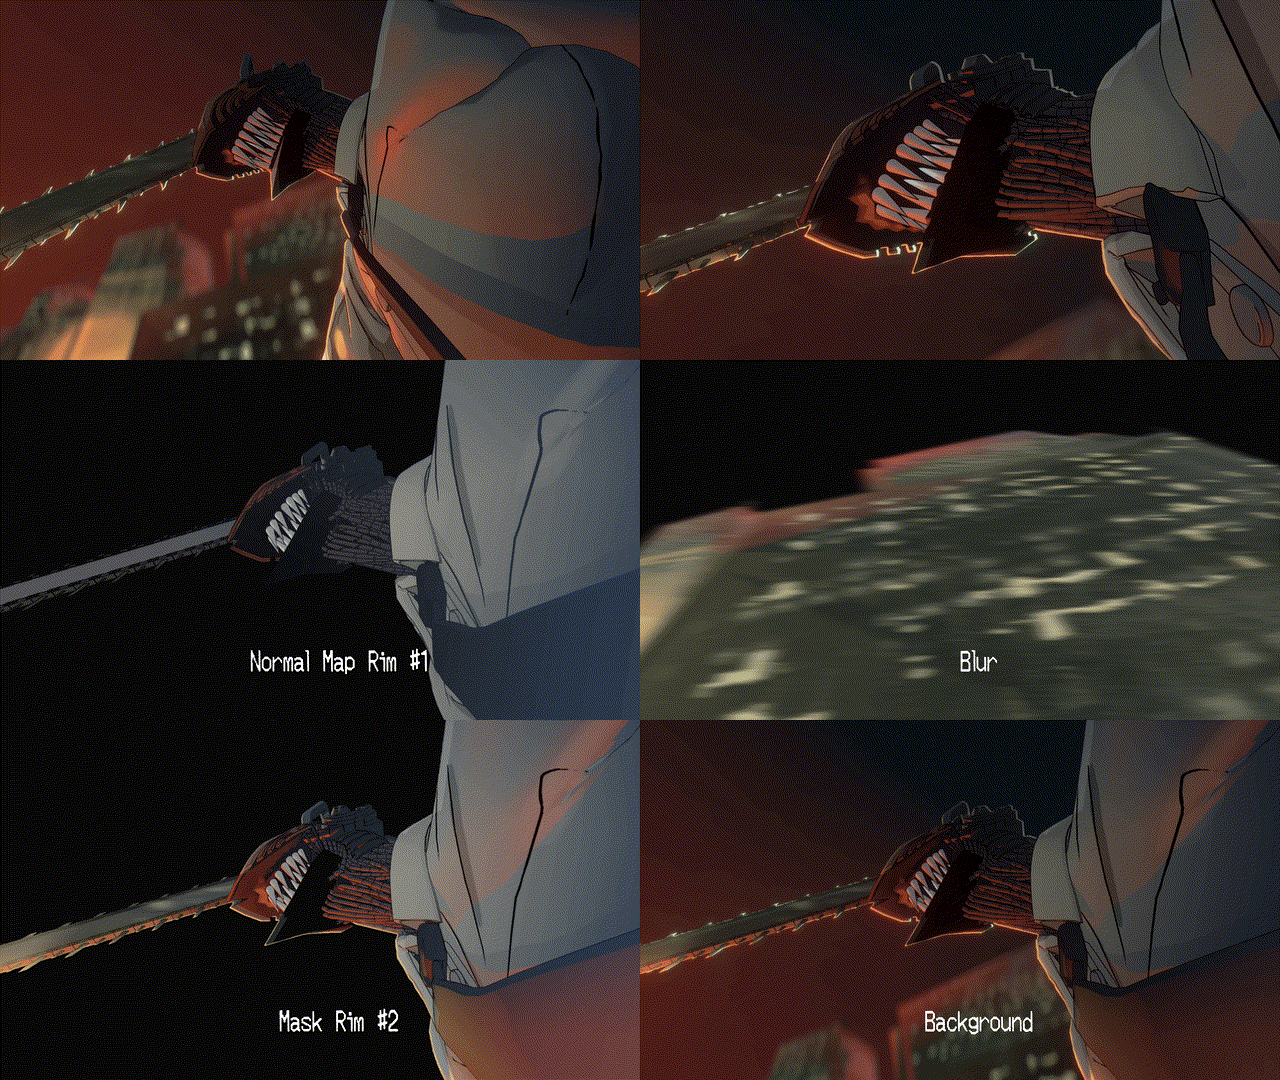
To get the hand crafted look and style fand to avoid any ugly "anime cgi" the lighting is fully hand crafted in composting, even the reflections.
A big issue I've ran into in the past when making CG toon shaders is the lack of control of shape language and color,
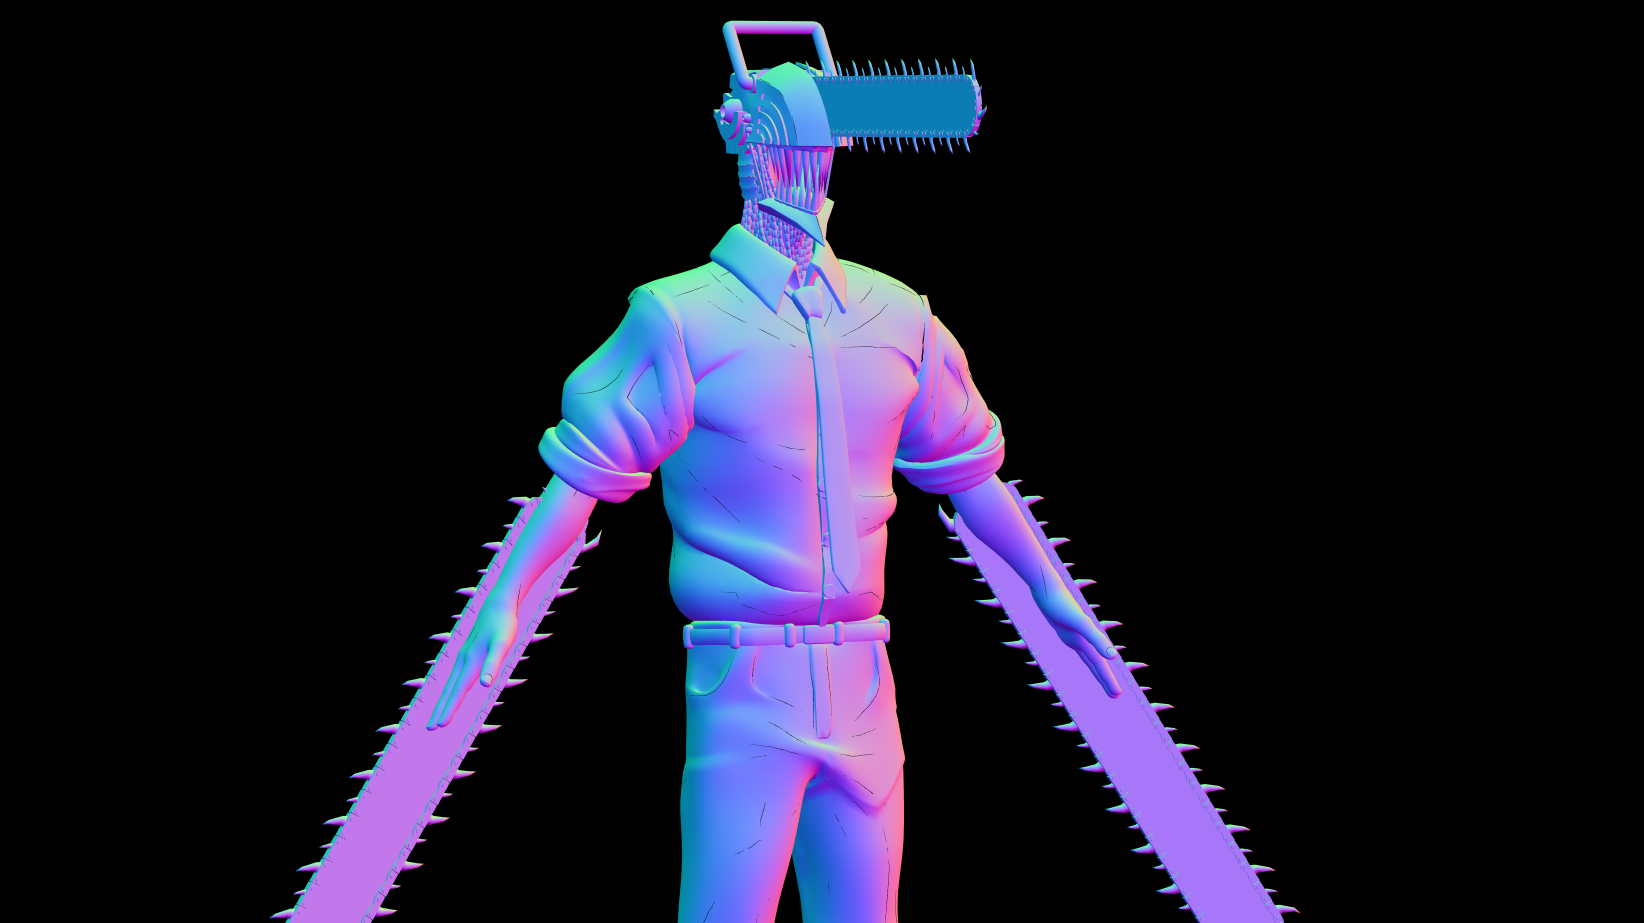
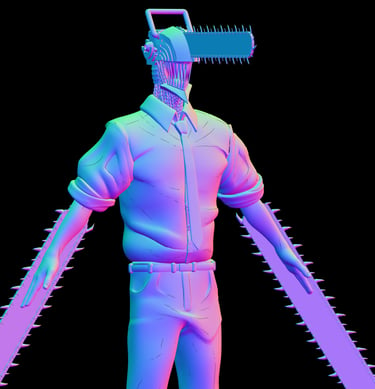
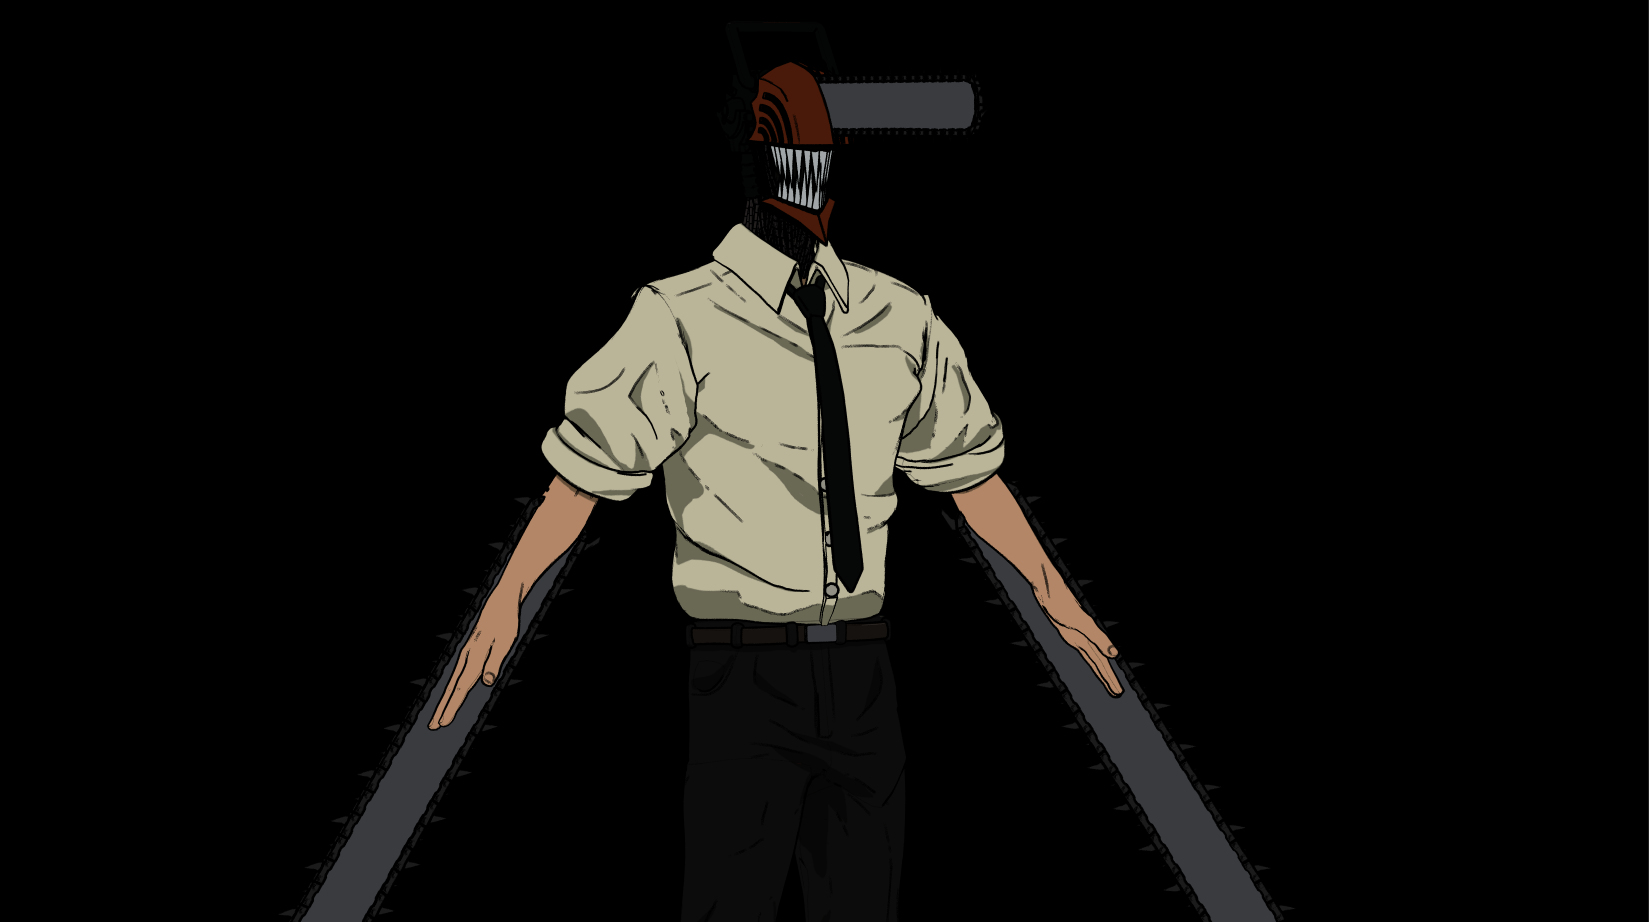
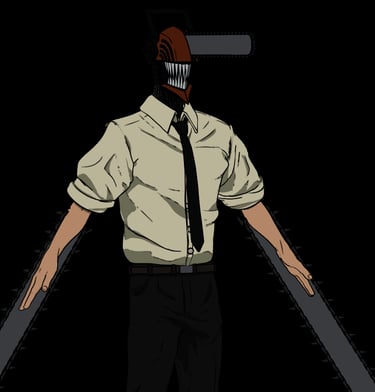
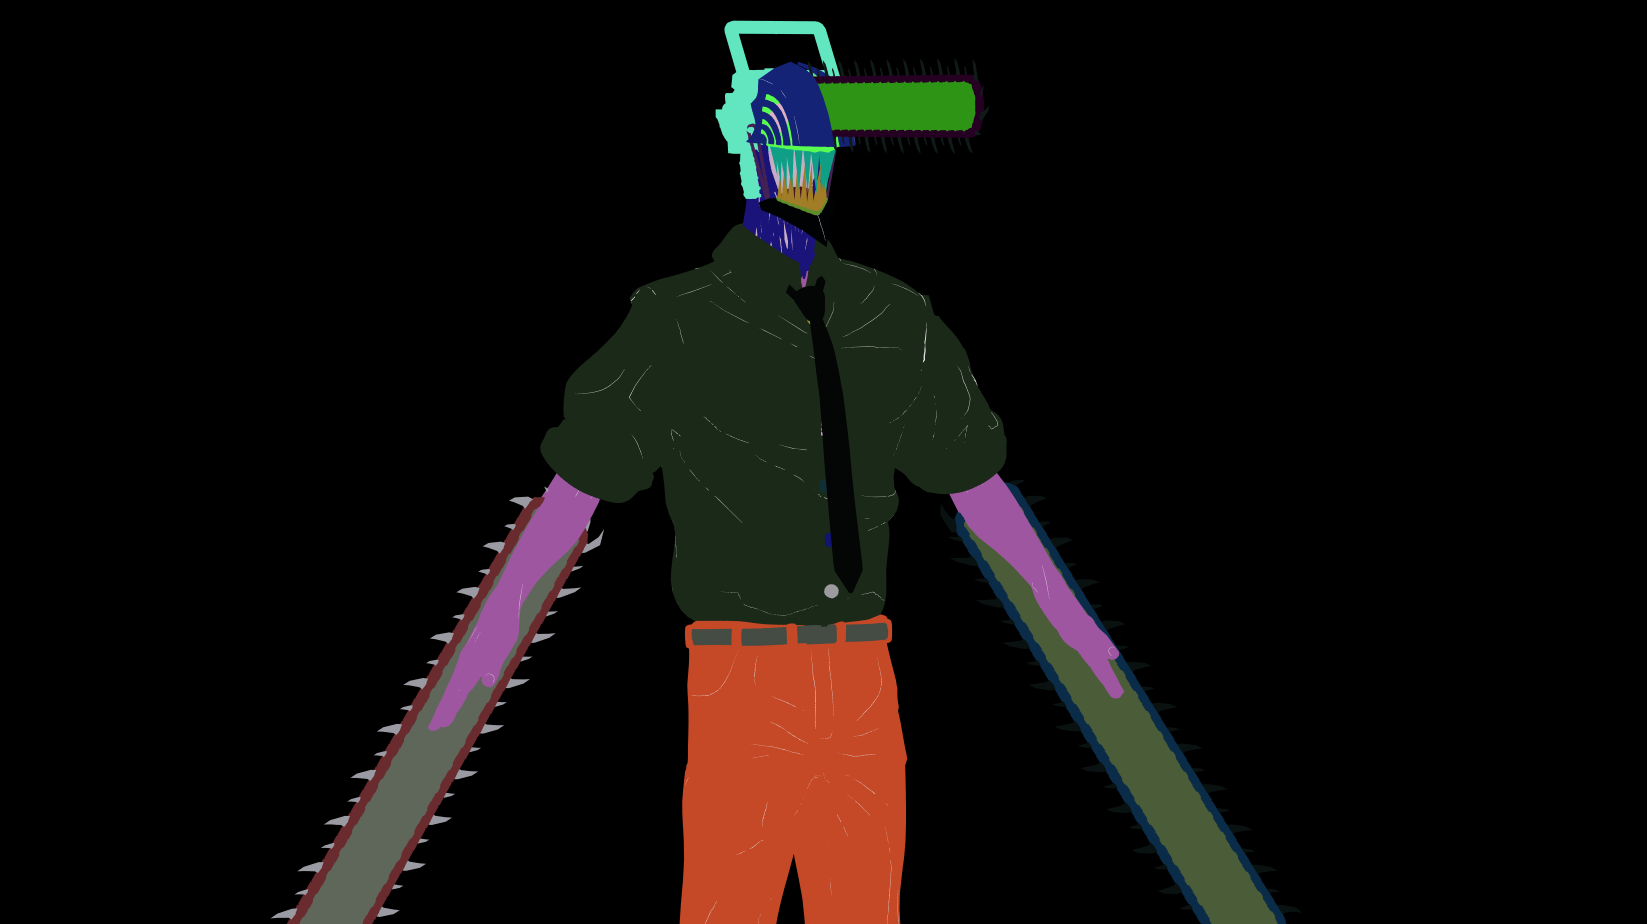
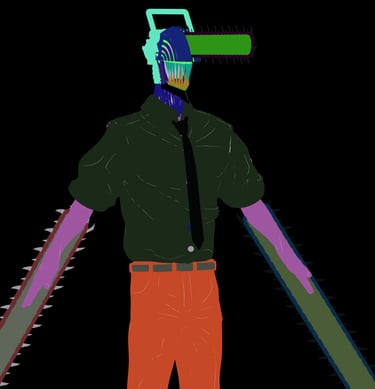
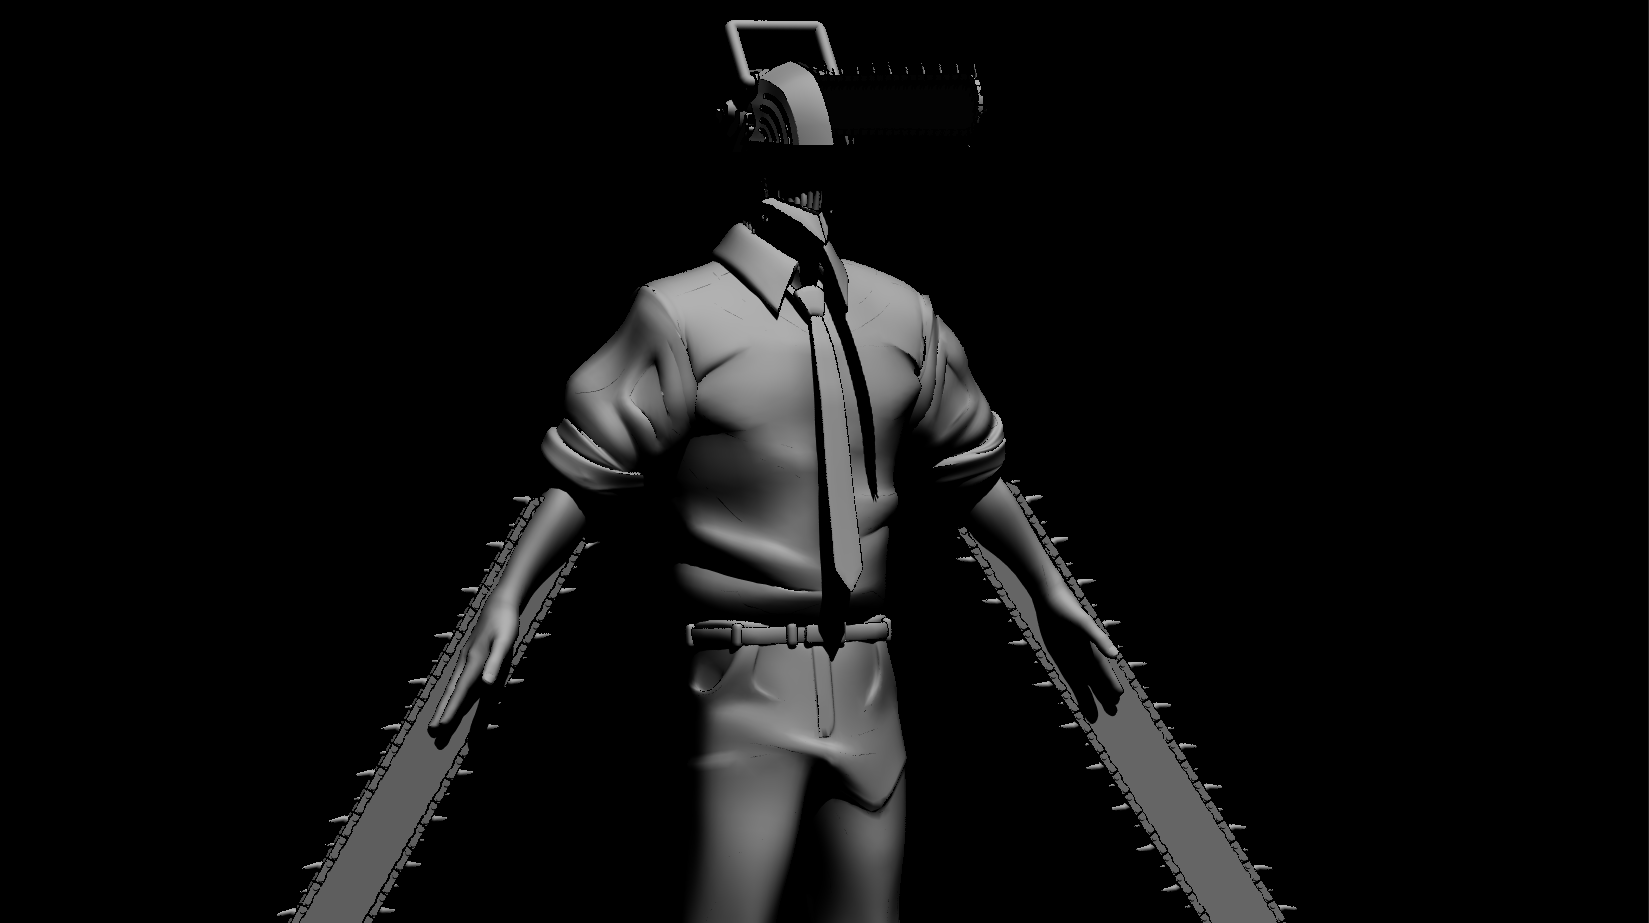
AOVS/Render passes used for comping
Normal
Base Color
Cryptomatte
Light pass
